


Top RC Zero from Gator R/C

 08-02-2018, 01:09 PM
#577

Mr. Toshiaki won Top Gun 2016 with his Type 22a Zero...flown by Dino DiGiorigio owner of Meister Scale Models. I think it was a Ziroli kit but can't be sure. Interesting that someone with his skills is starting to do what many of us are attempting...repainting and adding tons of detail to an existing air frame.
08-02-2018, 02:00 PM
#578
Mr. Toshiaki won Top Gun 2016 with his Type 22a Zero...flown by Dino DiGiorigio owner of Meister Scale Models. I think it was a Ziroli kit but can't be sure. Interesting that someone with his skills is starting to do what many of us are attempting...repainting and adding tons of detail to an existing air frame.
https://www.youtube.com/watch?v=S8F1TqbuzHU&t=14s
https://www.youtube.com/watch?v=S8F1TqbuzHU&t=14s
 08-03-2018, 07:13 AM
#581
08-03-2018, 08:15 AM
#582
He has many pictures of a TopRC Model on his Facebook page dating back to 2017 and talks about putting a Saito FG 90 in it. This Zero is a Type 52 not the Type 22 he won Top Gun with. My guess, he likes to kit bash... like some of us do.
08-03-2018, 11:45 AM
#583

My Feedback: (60)
Join Date: Dec 2001
Location: Litchfield Park,
AZ
Posts: 7,677
Likes: 0
Received 25 Likes
on
23 Posts
Just to clarify, the airplane in the pictures posted is indeed a Top RC Zero ARF that Toshiaki is modifying, obviously, to be more scale. He also built and competed at Top Gun with a Meister Scale Zero several years ago. I believe the cost of transporting the Meister Zero back to Japan was not economical and so it passed into the ownership of Dino DiGorgio, owner of Meister Scale.
 08-03-2018, 12:16 PM
#584
Just to clarify, the airplane in the pictures posted is indeed a Top RC Zero ARF that Toshiaki is modifying, obviously, to be more scale. He also built and competed at Top Gun with a Meister Scale Zero several years ago. I believe the cost of transporting the Meister Zero back to Japan was not economical and so it passed into the ownership of Dino DiGorgio, owner of Meister Scale.
09-11-2018, 06:00 PM
#586
Join Date: Jul 2016
Posts: 69
Likes: 0
Received 0 Likes
on
0 Posts

I cannot get my Saito to run right. Throttle is wide opened and I can only get up to high 3000rpm. Lean in and lean out and still it does not get to 6000 rpm. When I broke the engine on a bench it was running fine at high and low rpm. Initially, I thought it was because I had the fuel tube too long inside the motor box and the carb pump could not pull the gas. So I shortened the tube and it kinked so no fuel to the engine. So I decided to run the part of he fuel lines outside the box so it will not kink. Yet it still cannot reach optimal high rpm. What am I doing wrong? Please help. Thanks.
A
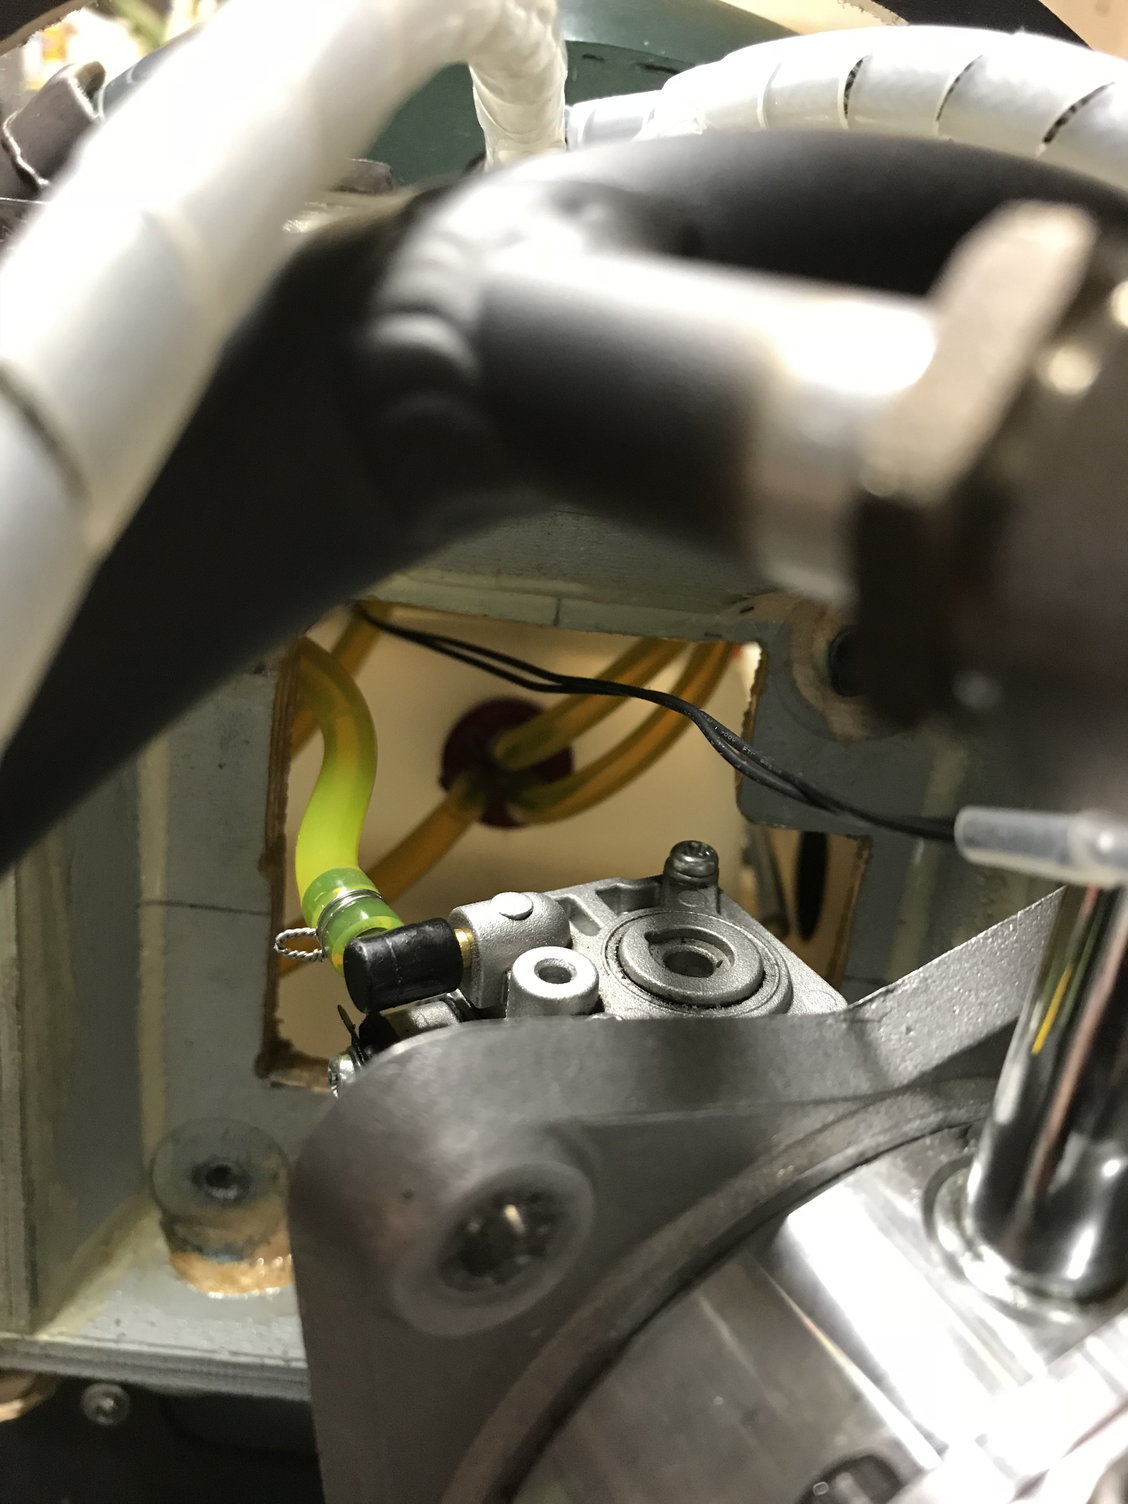
Last edited by liemtran75; 09-11-2018 at 06:04 PM.
 09-11-2018, 06:27 PM
#588
09-12-2018, 04:07 AM
#589
Join Date: Jul 2016
Posts: 69
Likes: 0
Received 0 Likes
on
0 Posts
09-12-2018, 04:41 AM
#590
Join Date: Jul 2016
Posts: 69
Likes: 0
Received 0 Likes
on
0 Posts

 01-05-2019, 06:06 AM
#594
Join Date: Jan 2007
Location: Tvedestrand, NORWAY
Posts: 56
Likes: 0
Received 0 Likes
on
0 Posts
Hello,
I am building my second TopRCmodel Zero. Just needed one again since i sold it.
I used the electric retracts that you can get for the model, and i was very pleased with it. No problem with those as long as i had it.
This time however i decided to use Sierra retracts air. Fantastic good quality on them. I also use a Sierra retract air on a TopRCmodel FW-190 that i currently also are building. Simply great retracts.
Just some pictures of the Sierra system:
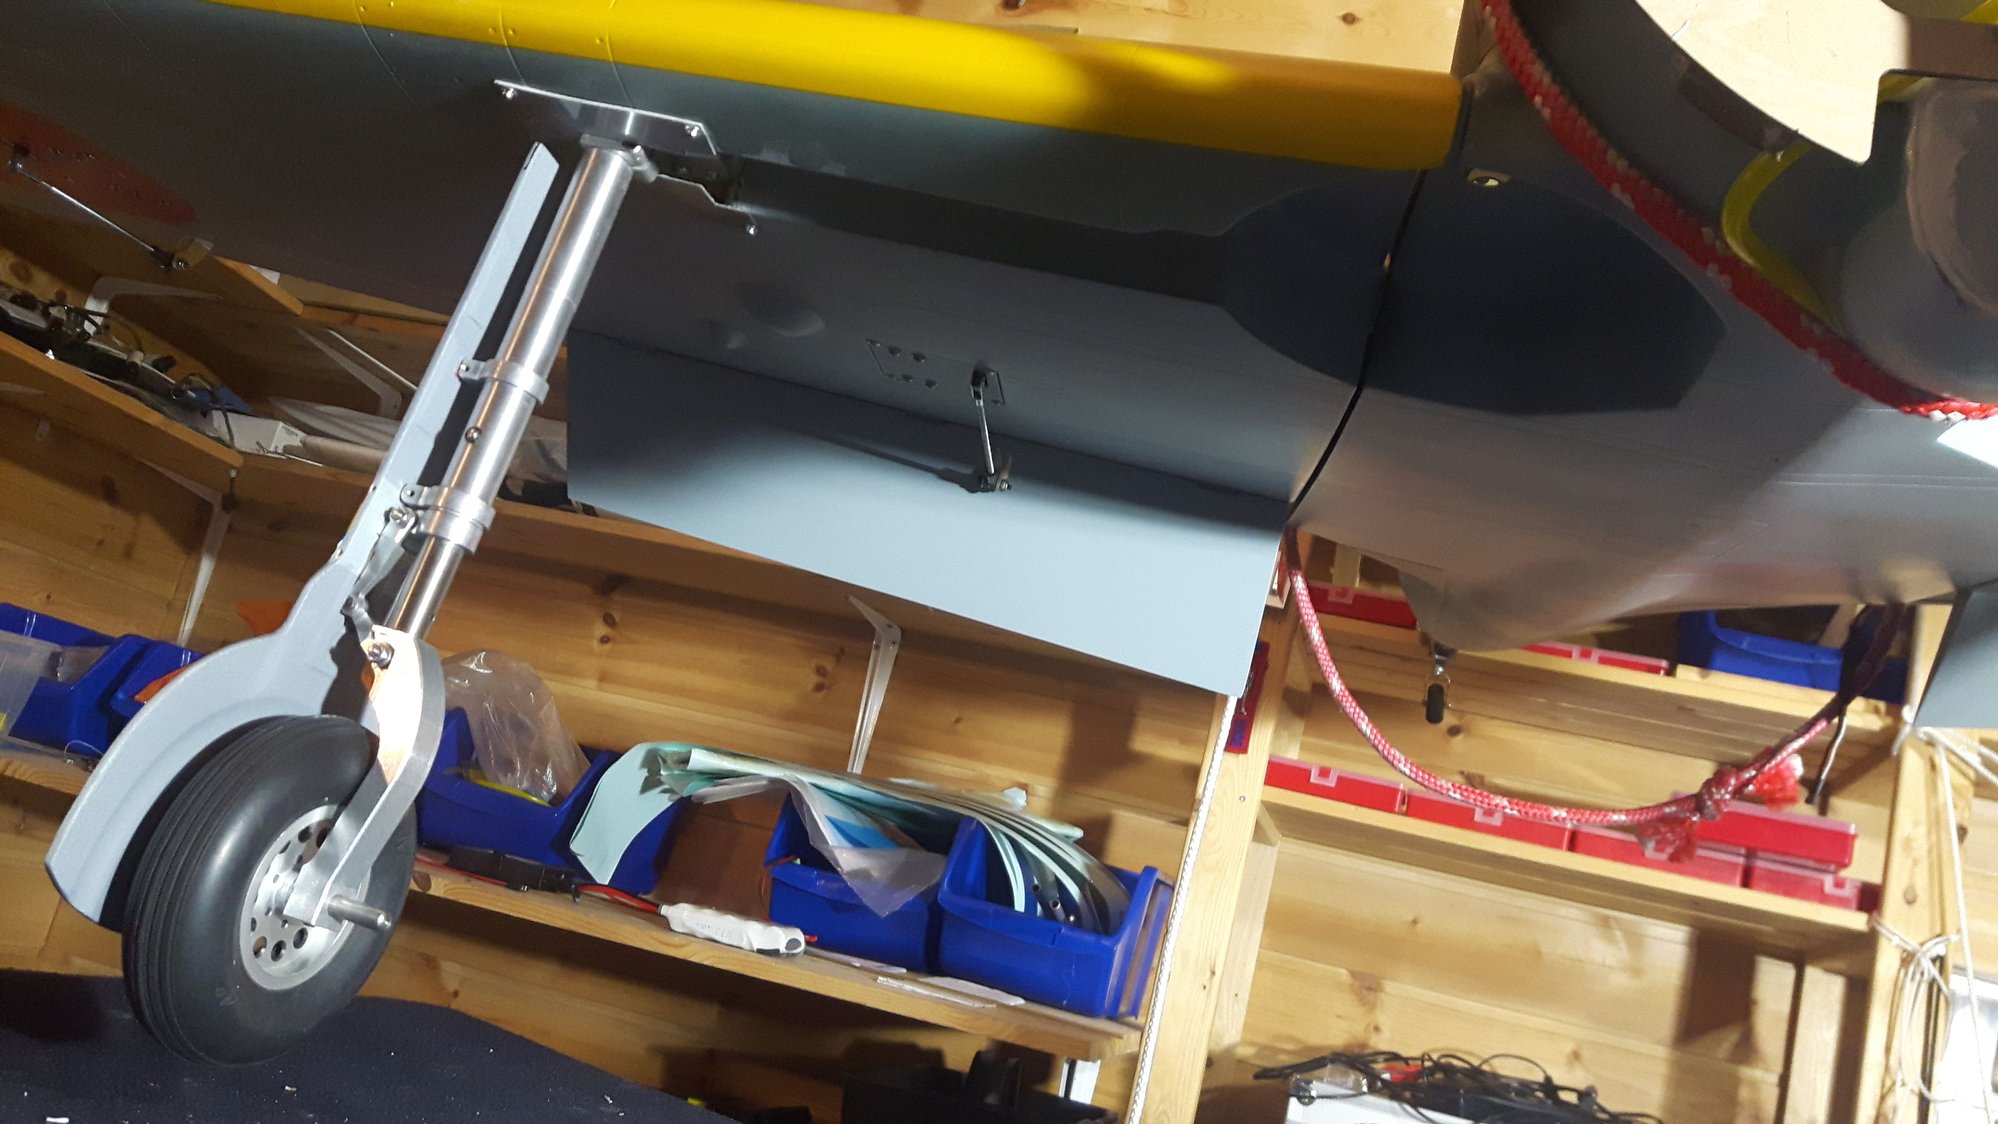
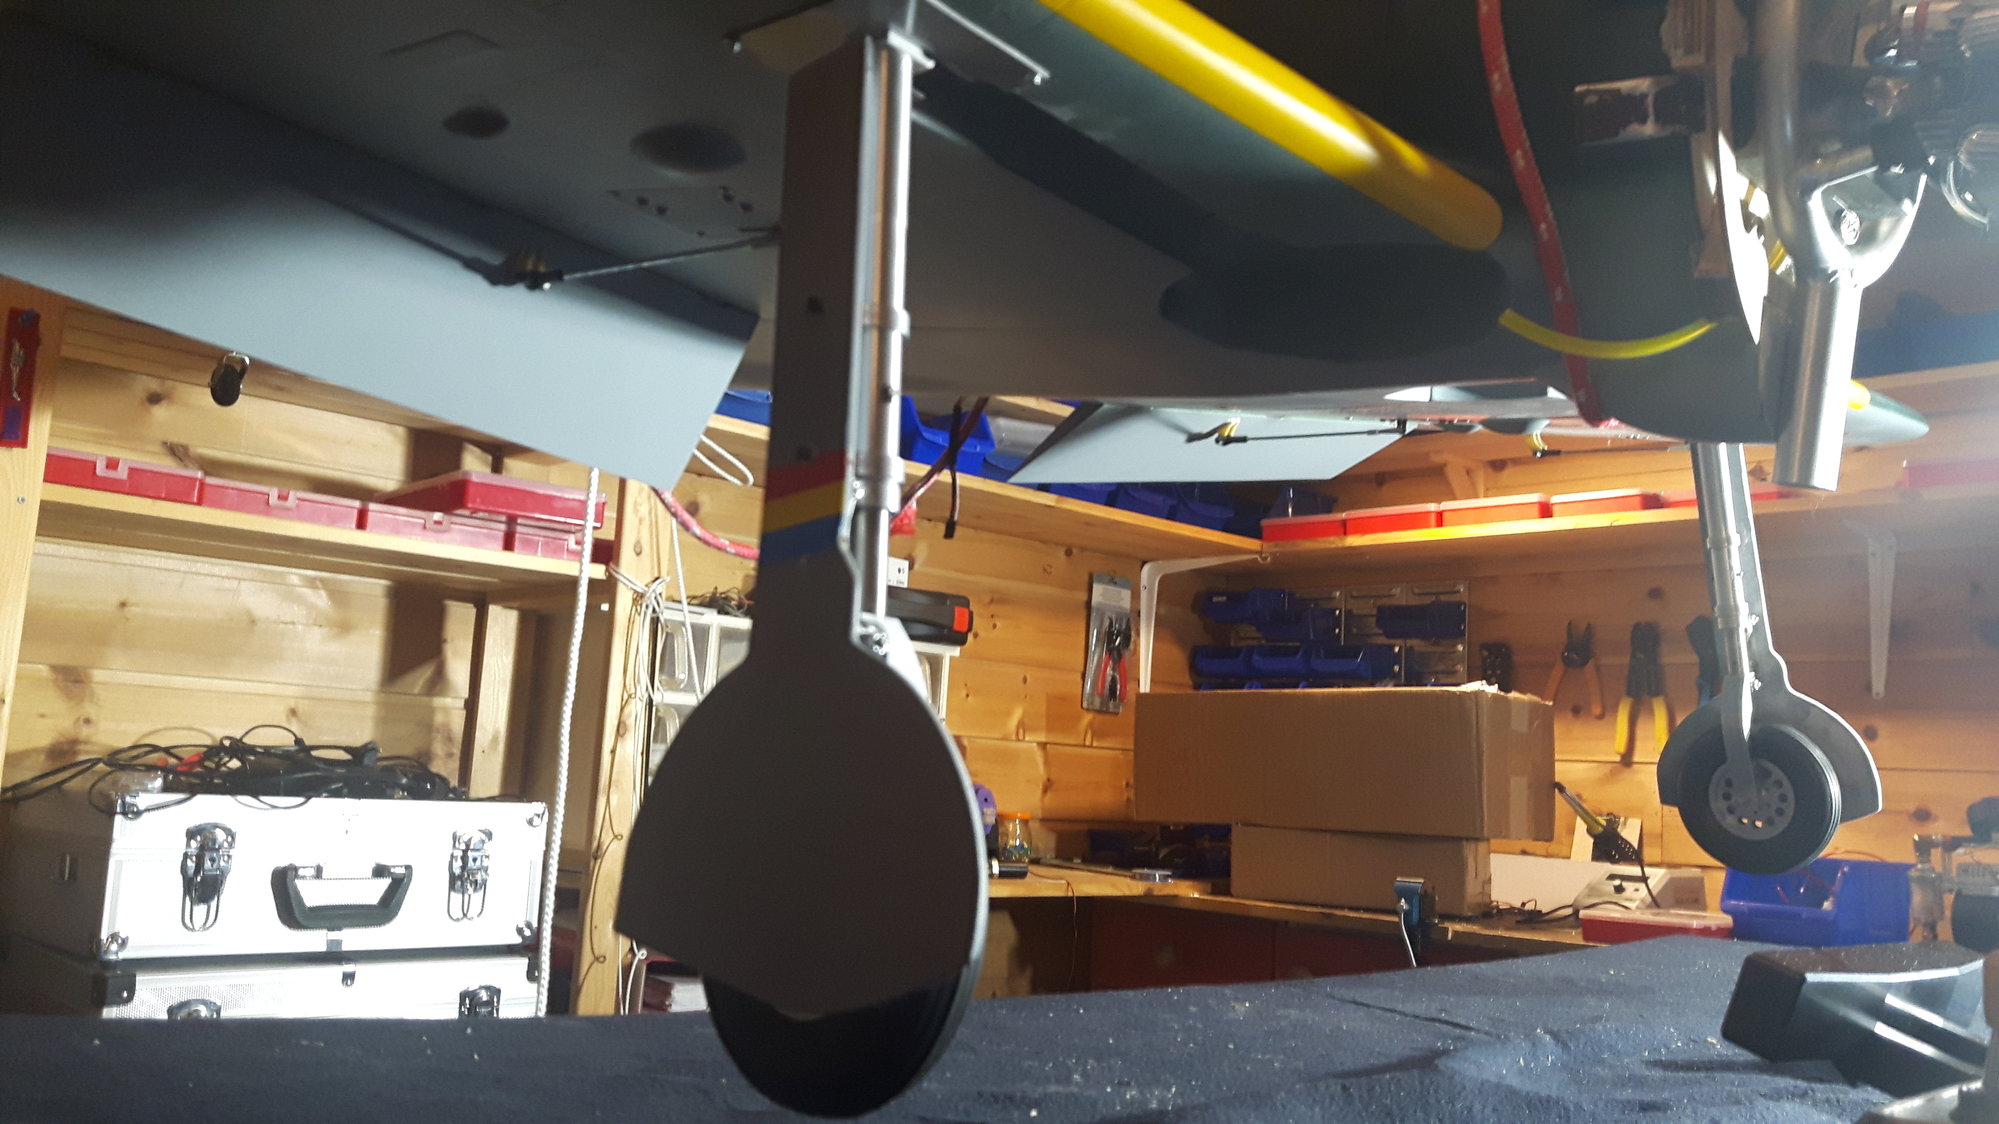

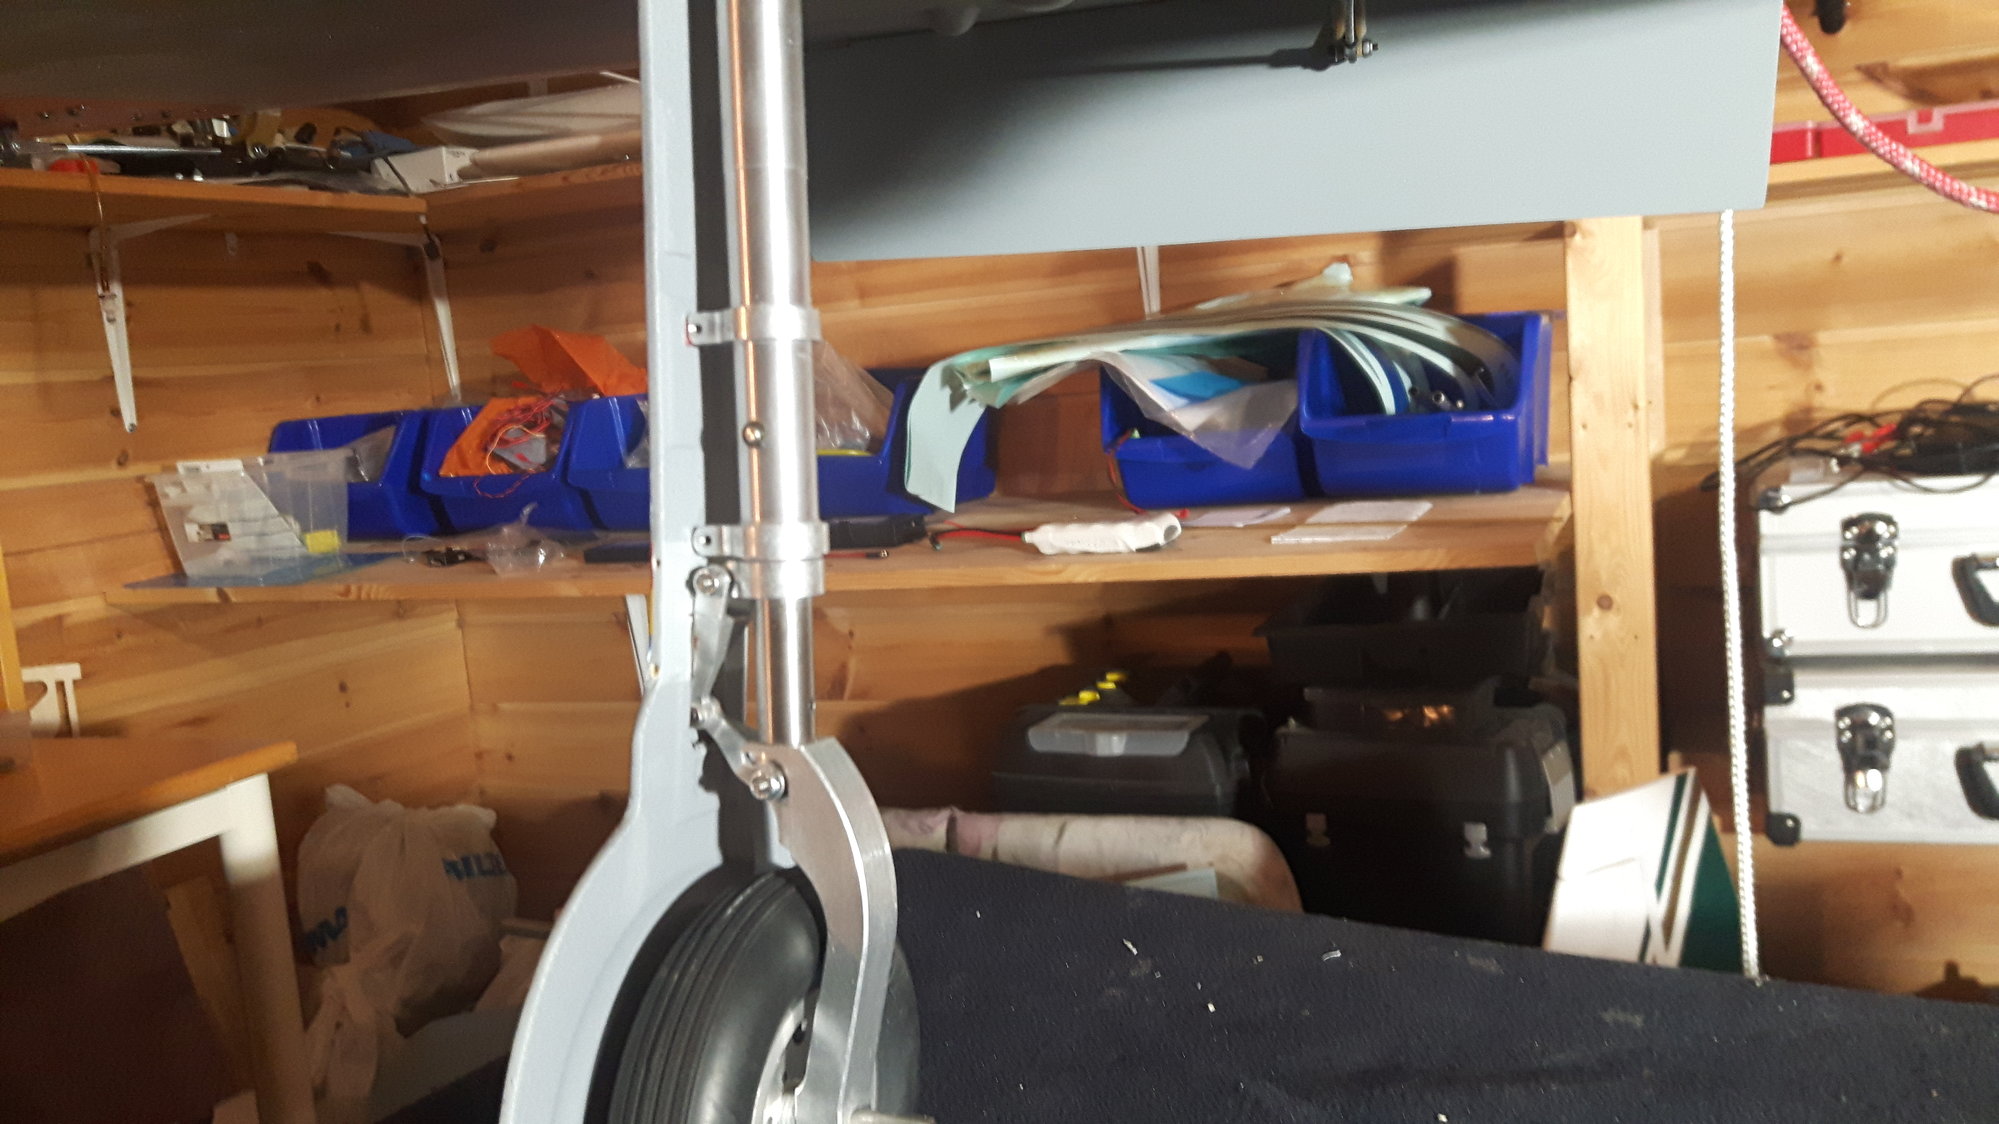

My previous one

I am building my second TopRCmodel Zero. Just needed one again since i sold it.
I used the electric retracts that you can get for the model, and i was very pleased with it. No problem with those as long as i had it.
This time however i decided to use Sierra retracts air. Fantastic good quality on them. I also use a Sierra retract air on a TopRCmodel FW-190 that i currently also are building. Simply great retracts.
Just some pictures of the Sierra system:
My previous one
Last edited by totto; 01-05-2019 at 06:12 AM.
 I really like the grey version.
02-16-2019, 08:02 AM
I really like the grey version.
02-16-2019, 08:02 AM
#596
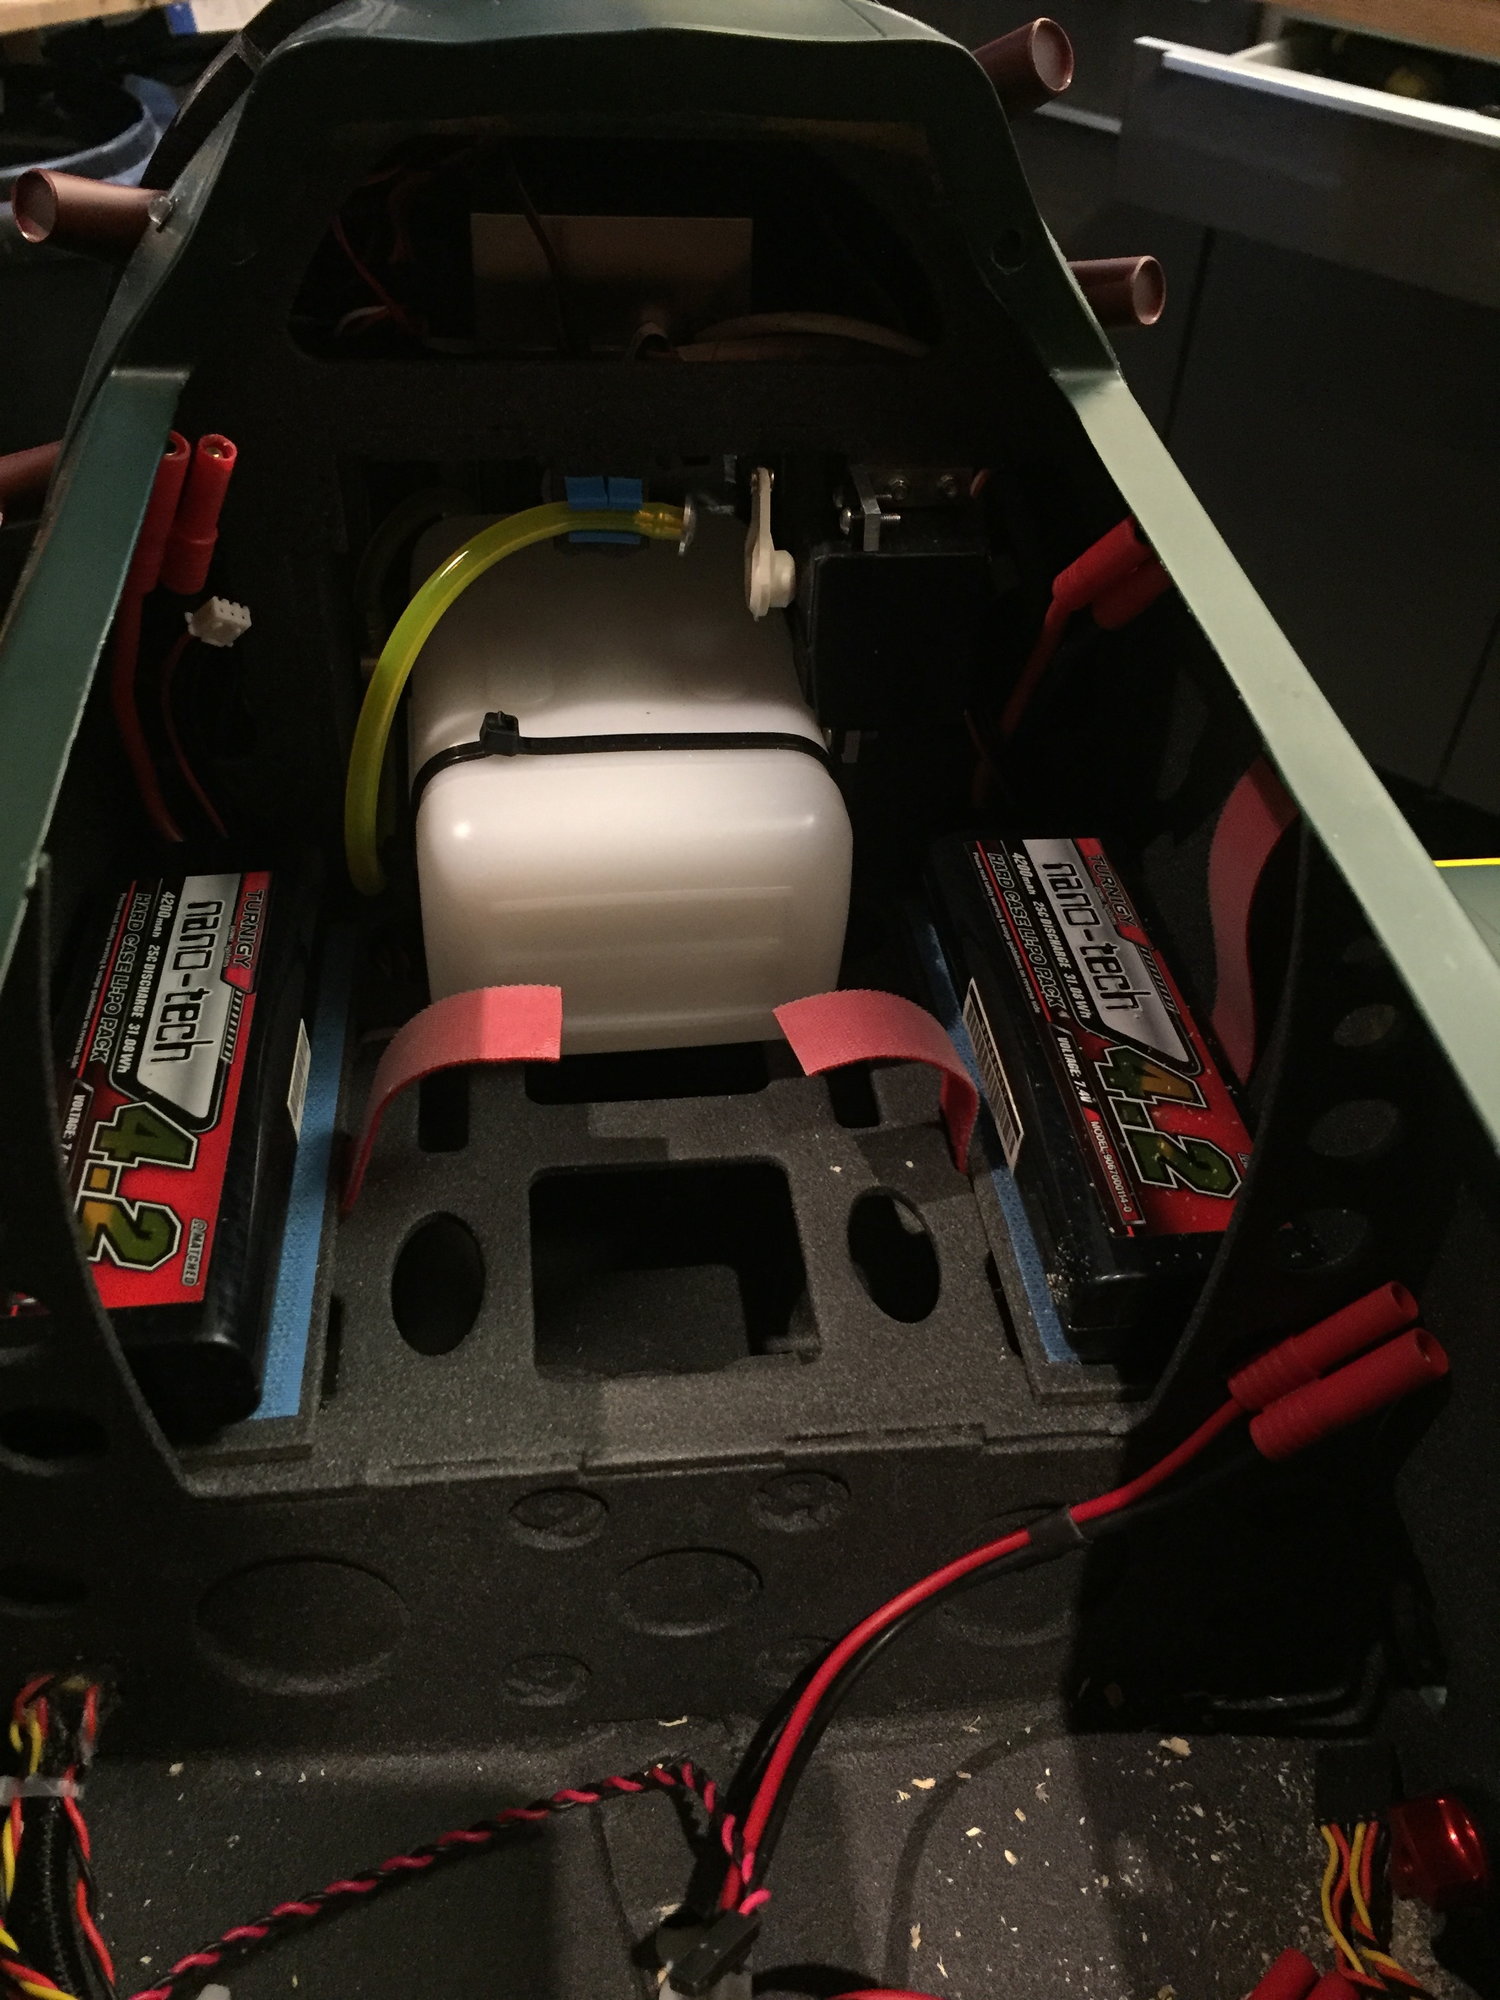
I am nearing completion of mine with a Saito 84 and keleo exhaust with Robart retracts .With my setup I need around 1200g lead in the nose. I currently have 700g inside the cowl using lead shot and finishing resin.
I have made a few changes through the assembly, most of which have already be documented by others.
I hope to fly this in a couple of weeks time.
Neil
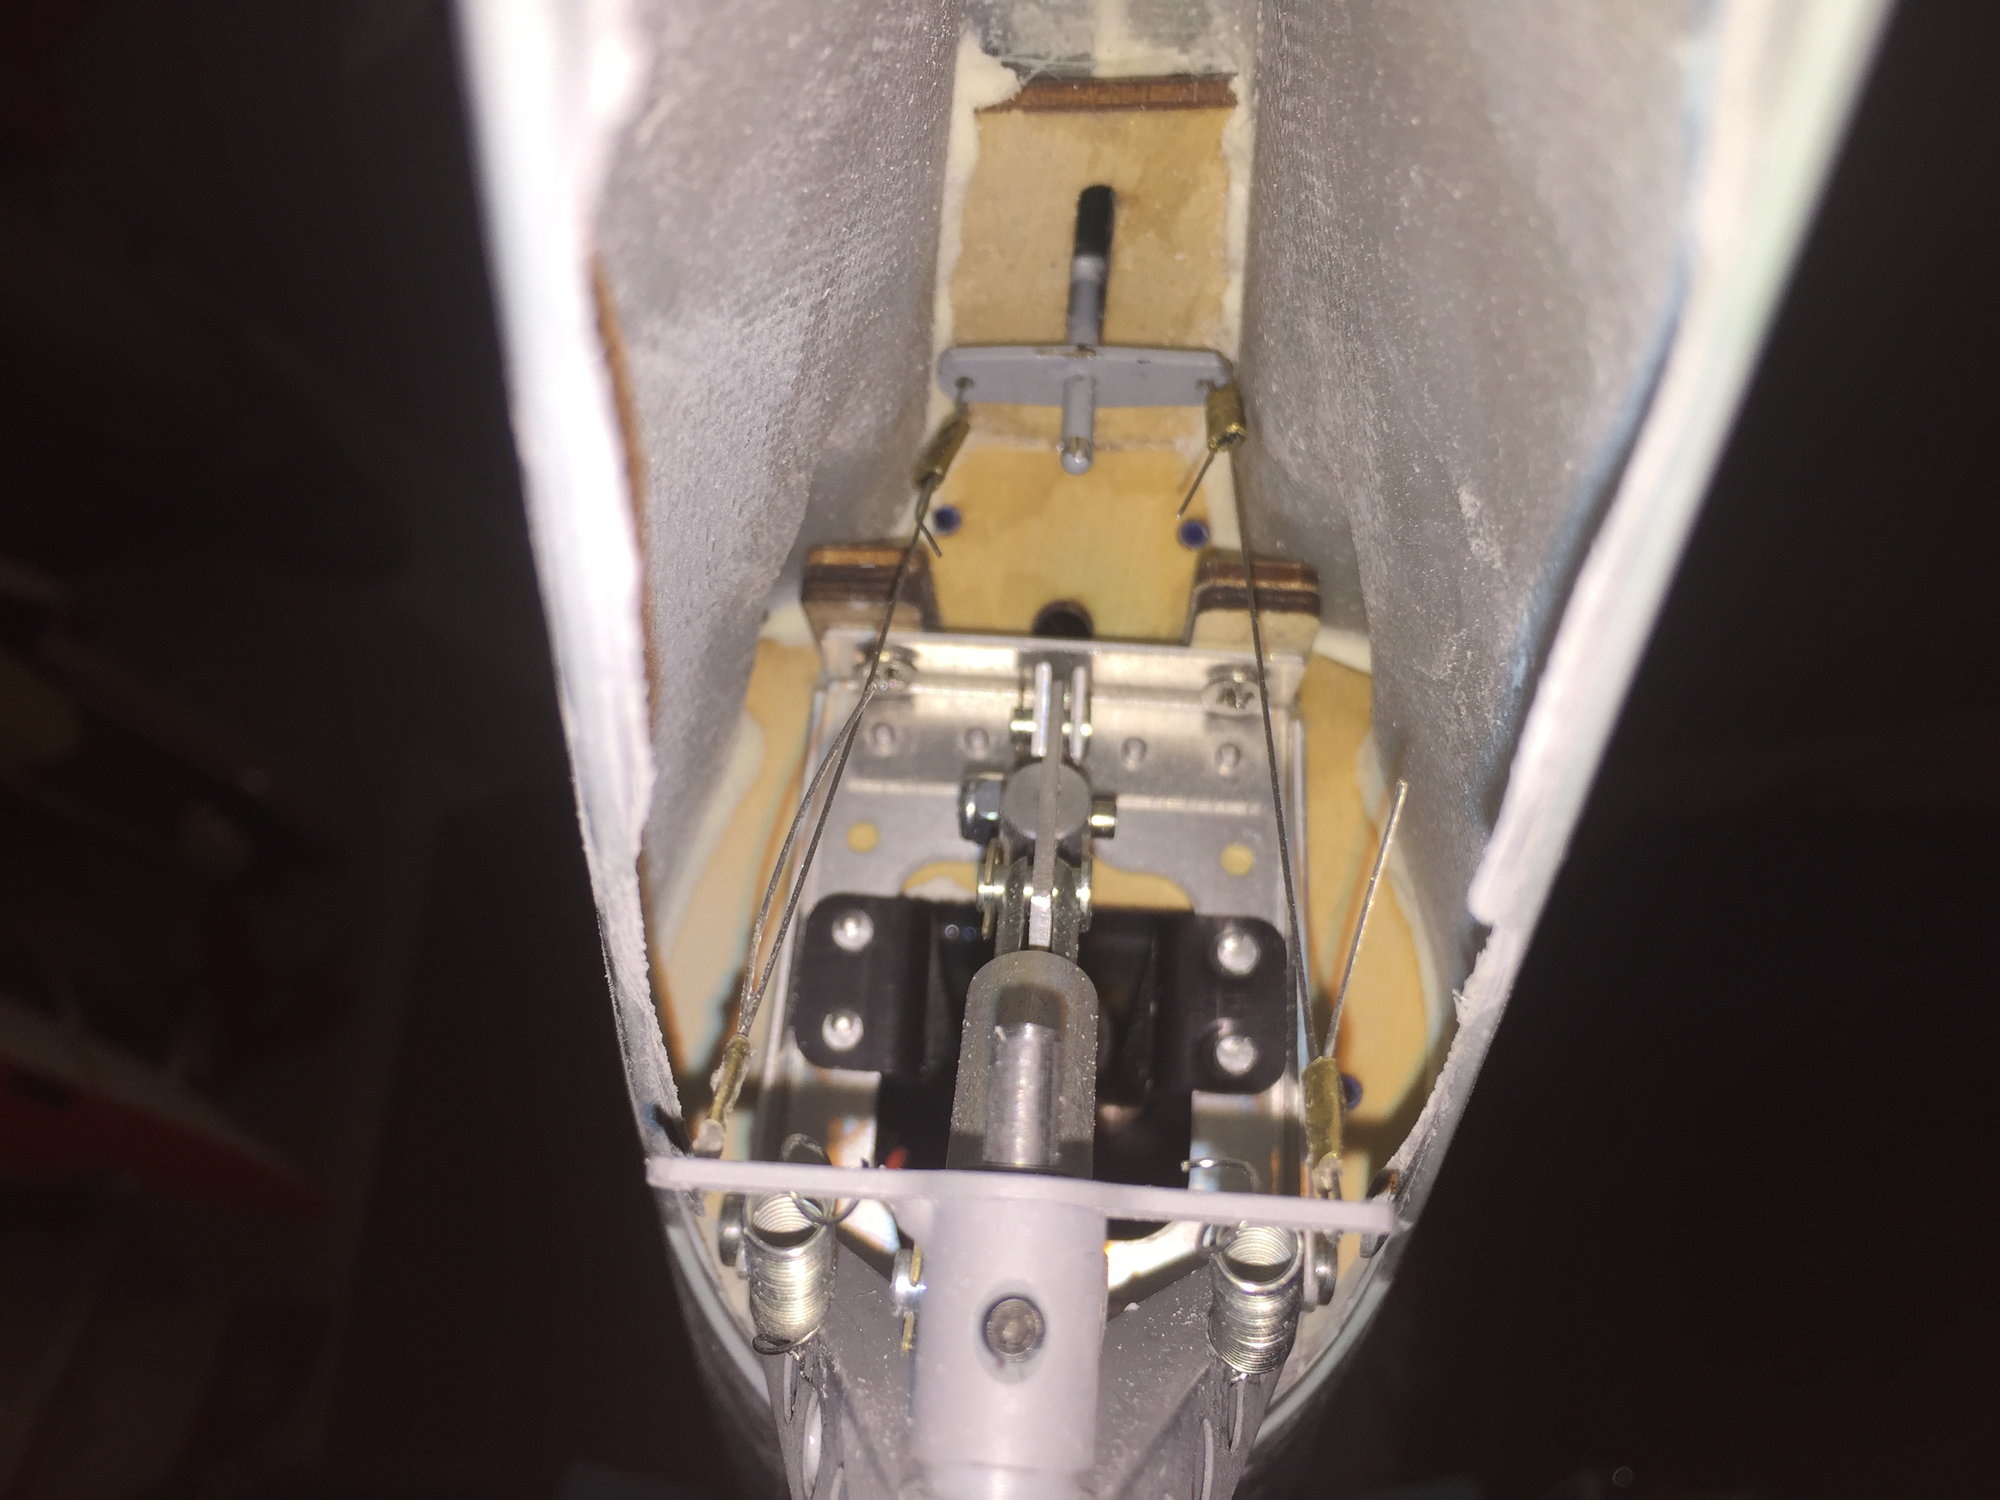
Robart legs rotated 180 degrees to allow free movement of the scissor part.
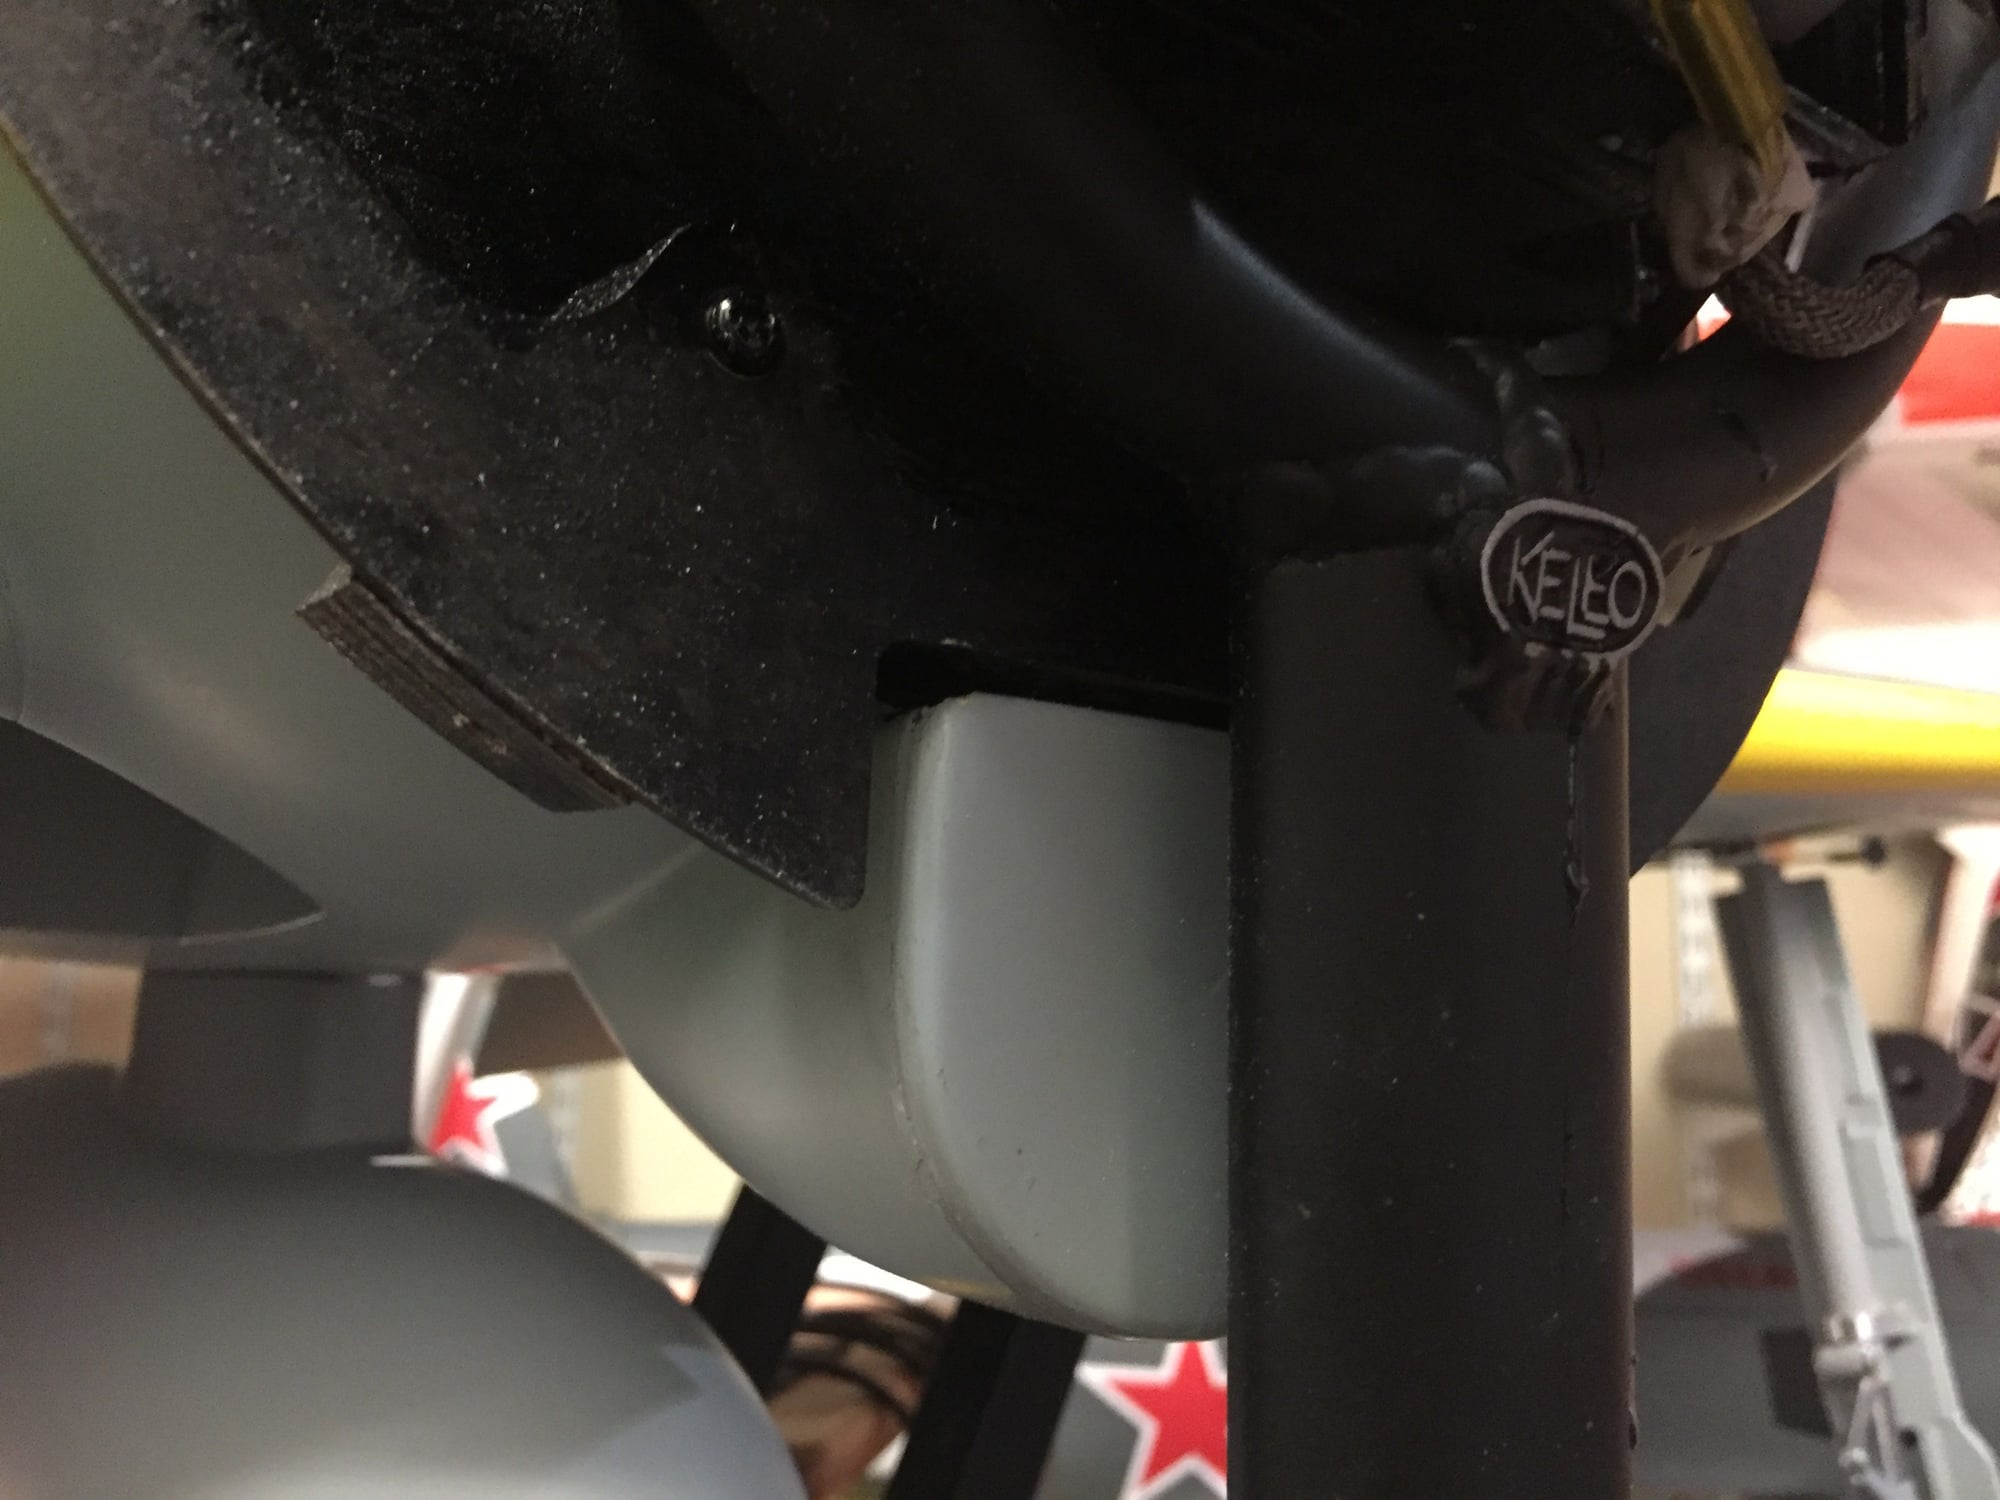
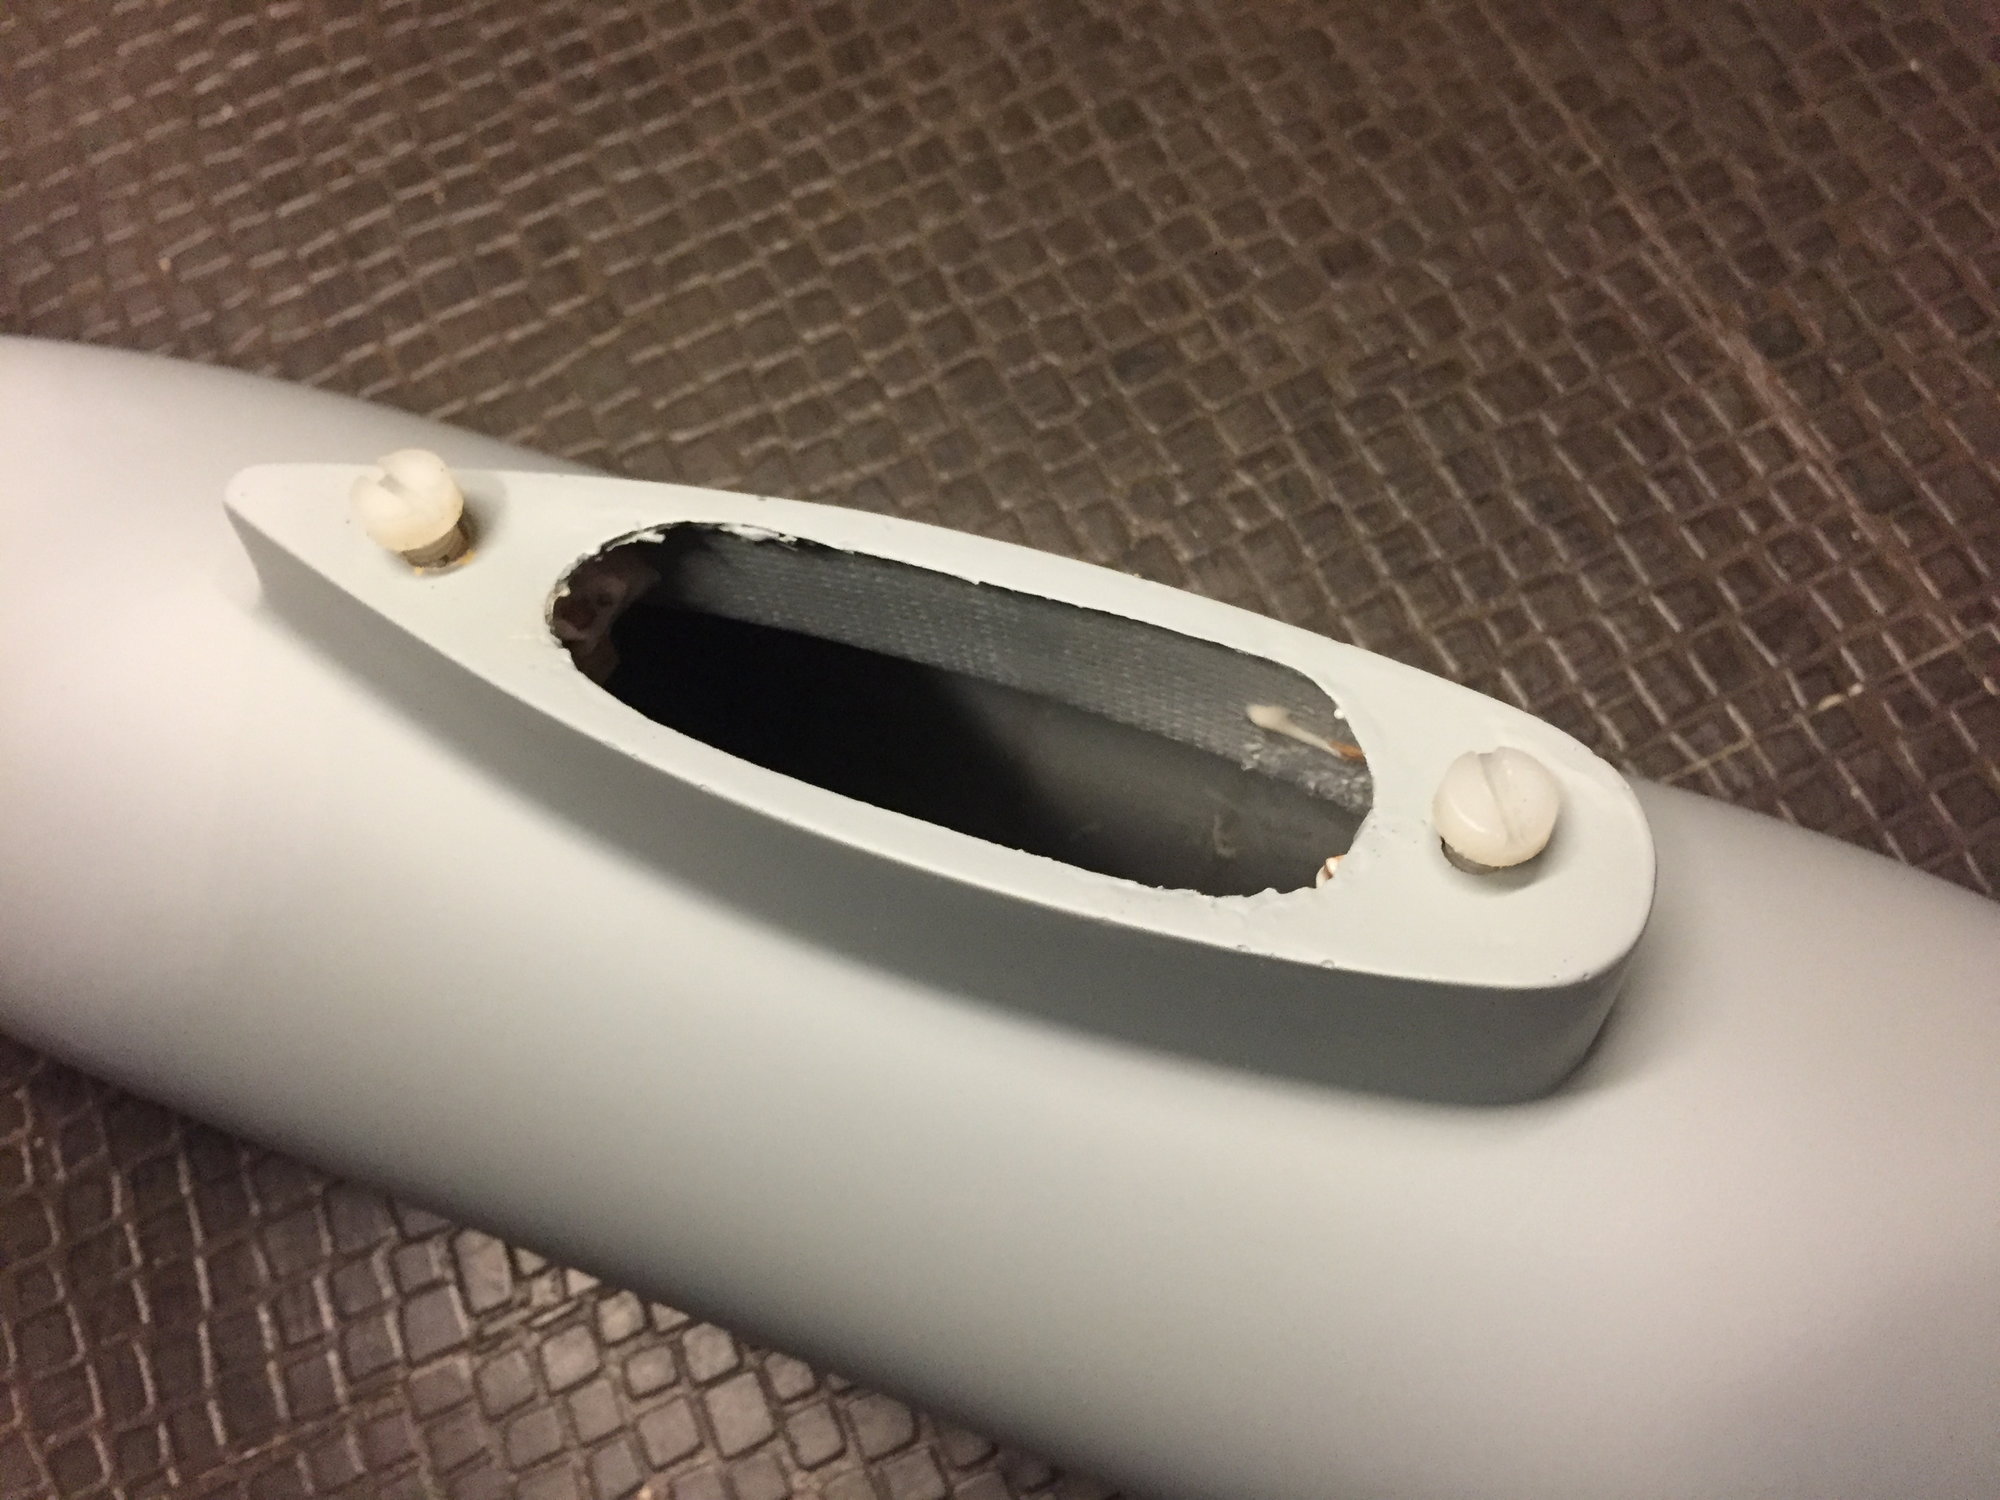
Intake reduced in length to accommodate the exhaust.

Blocks tapped and glued in place to allow 6mm plastic screws to be used.
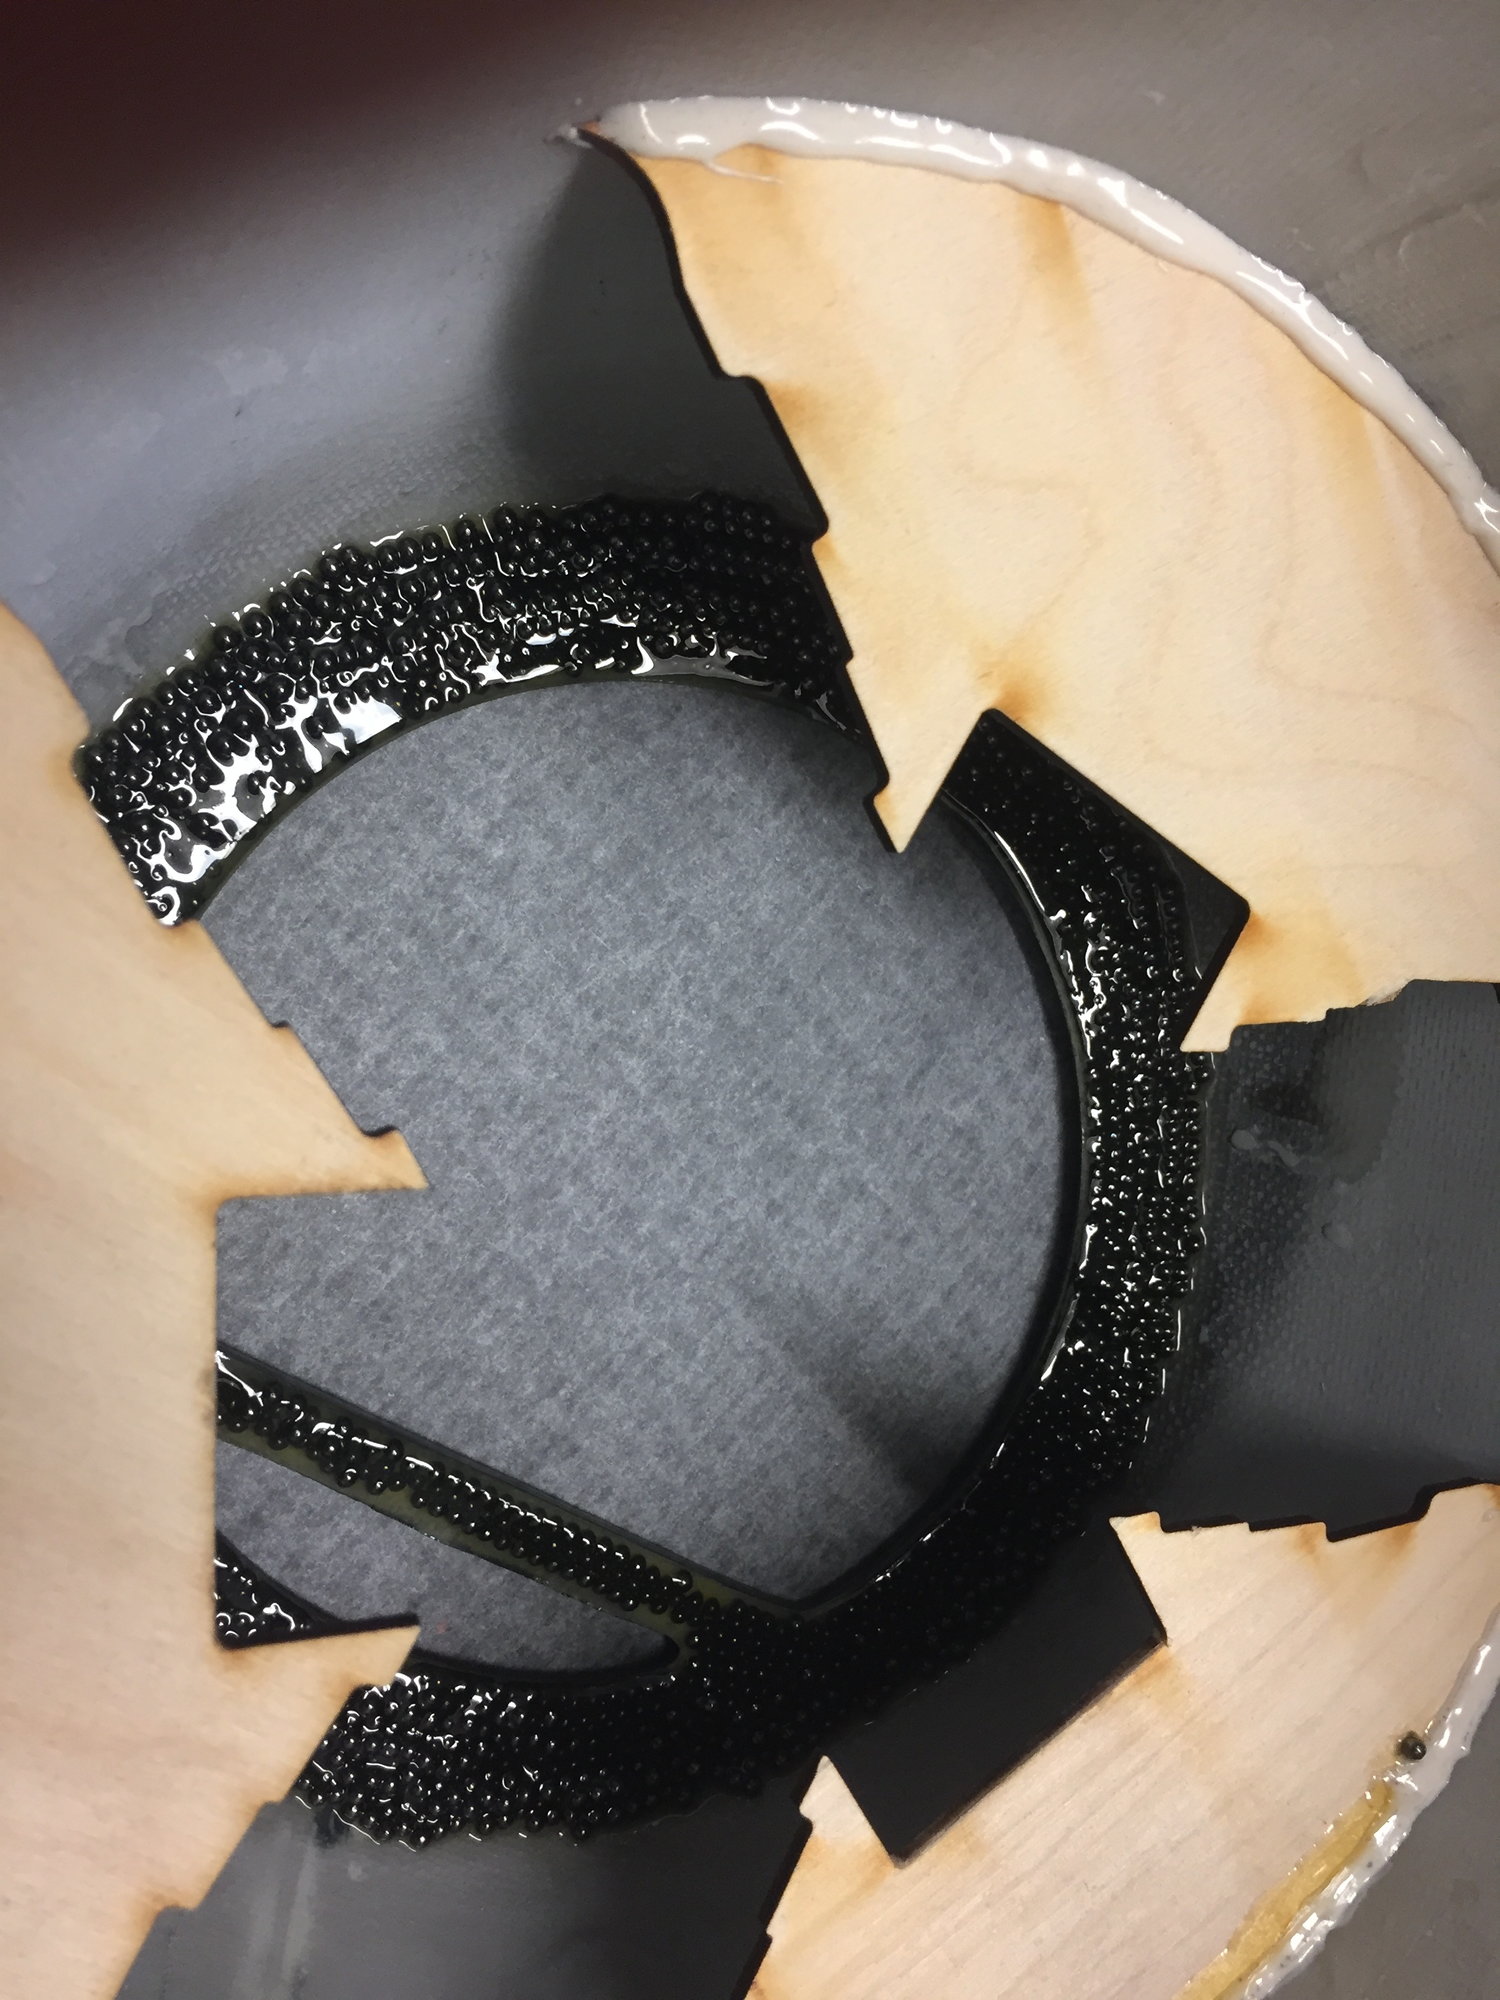
Lead shot and zpoxy laminating resin currently curing. Still more to add.
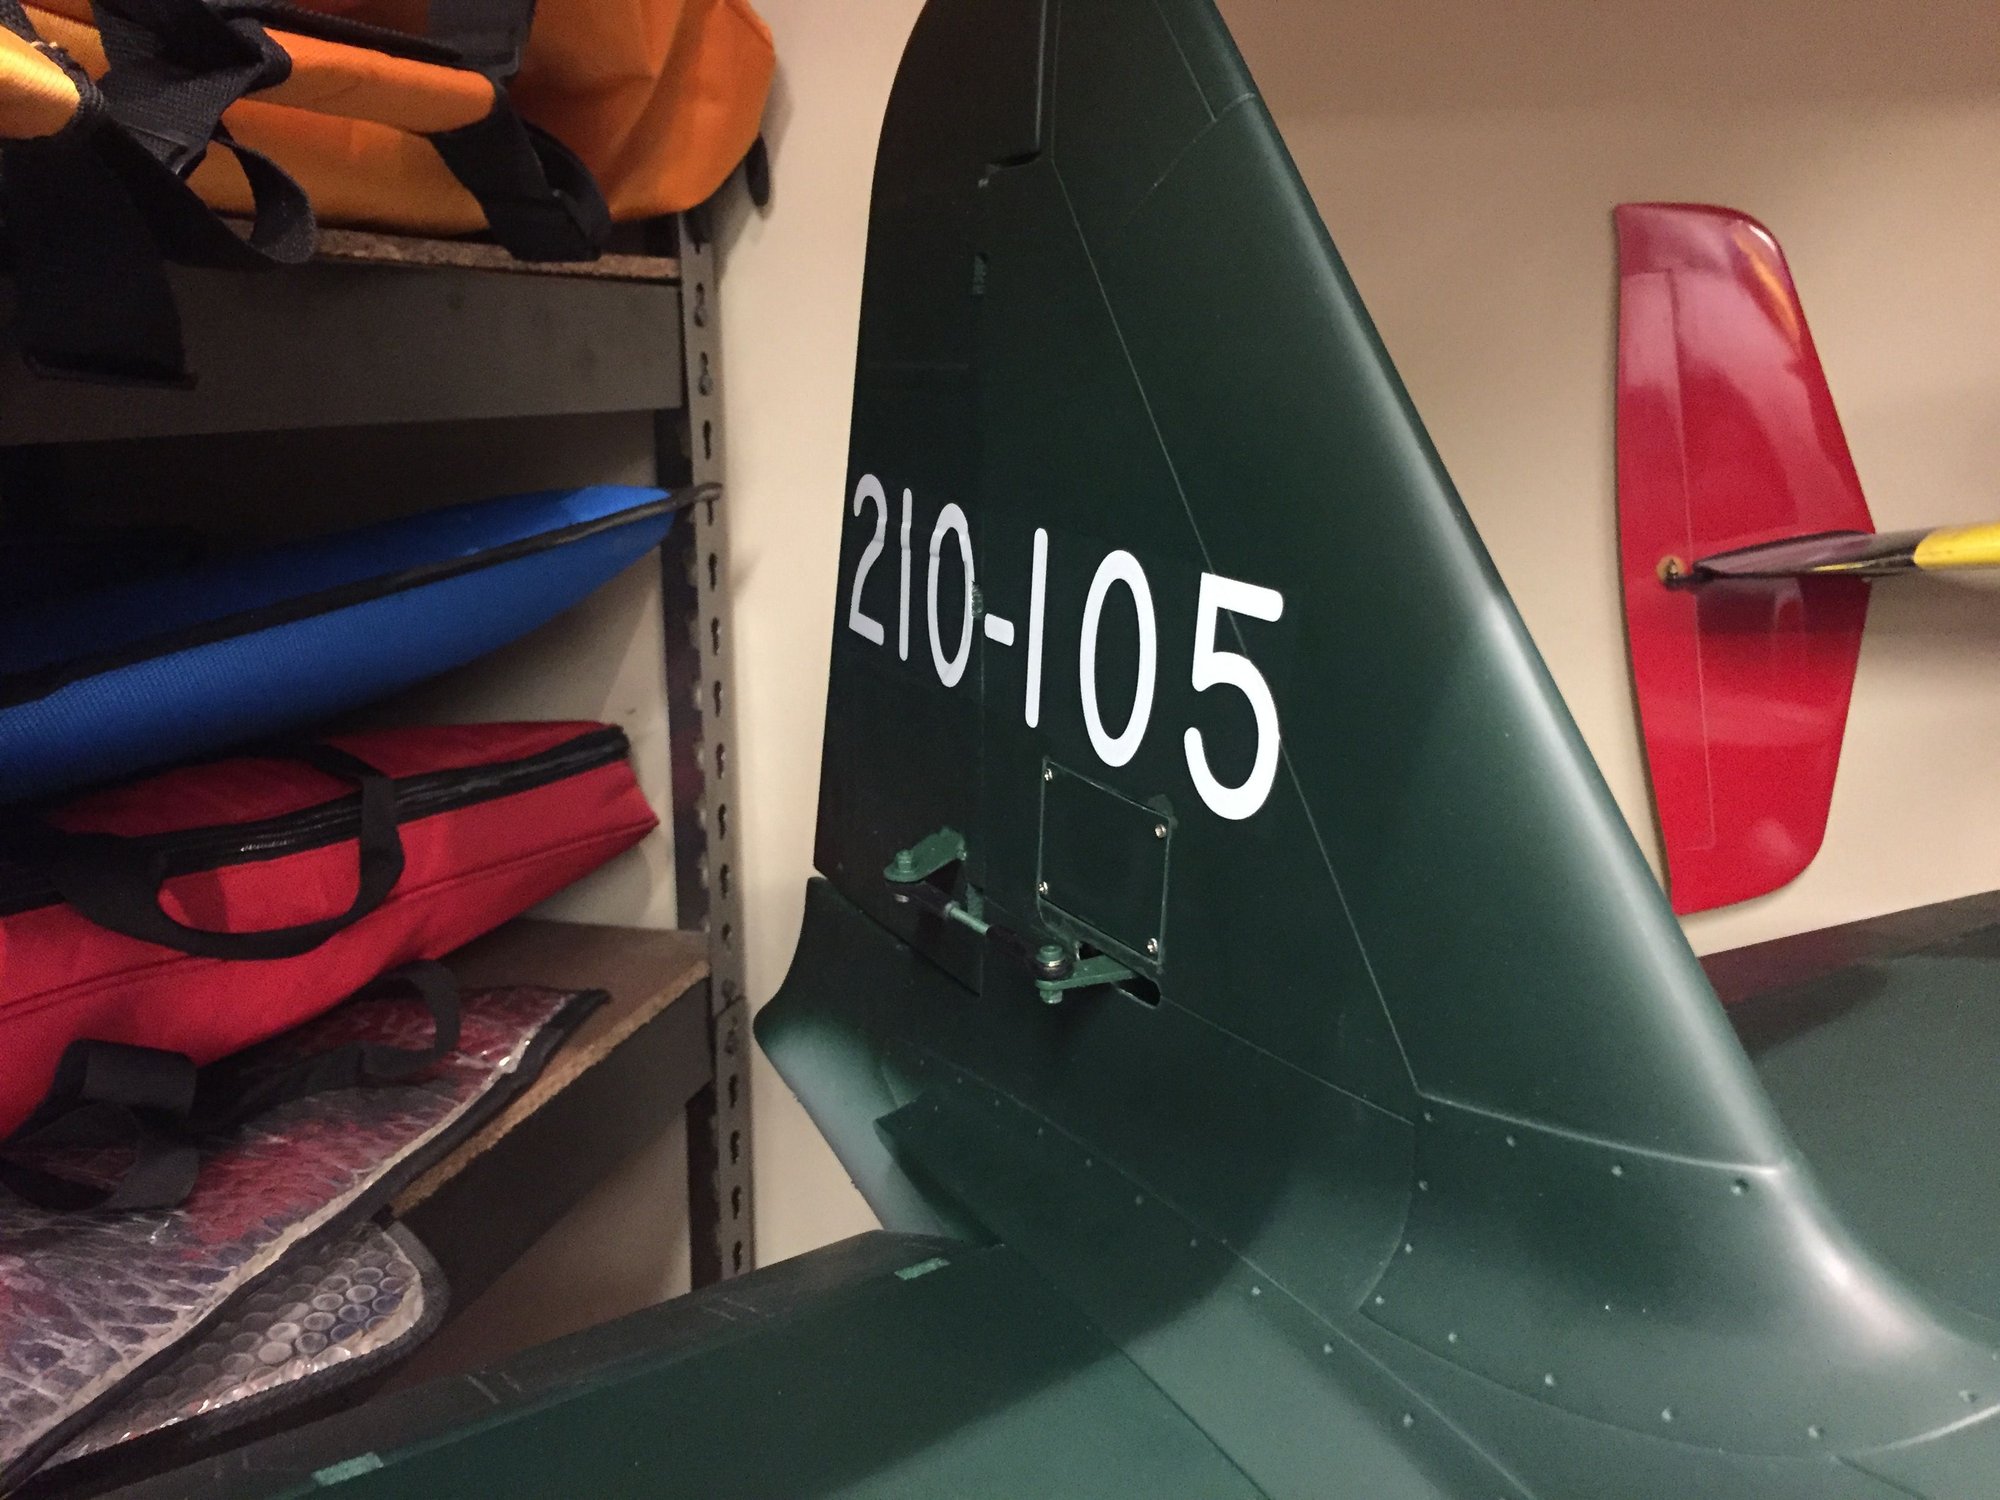
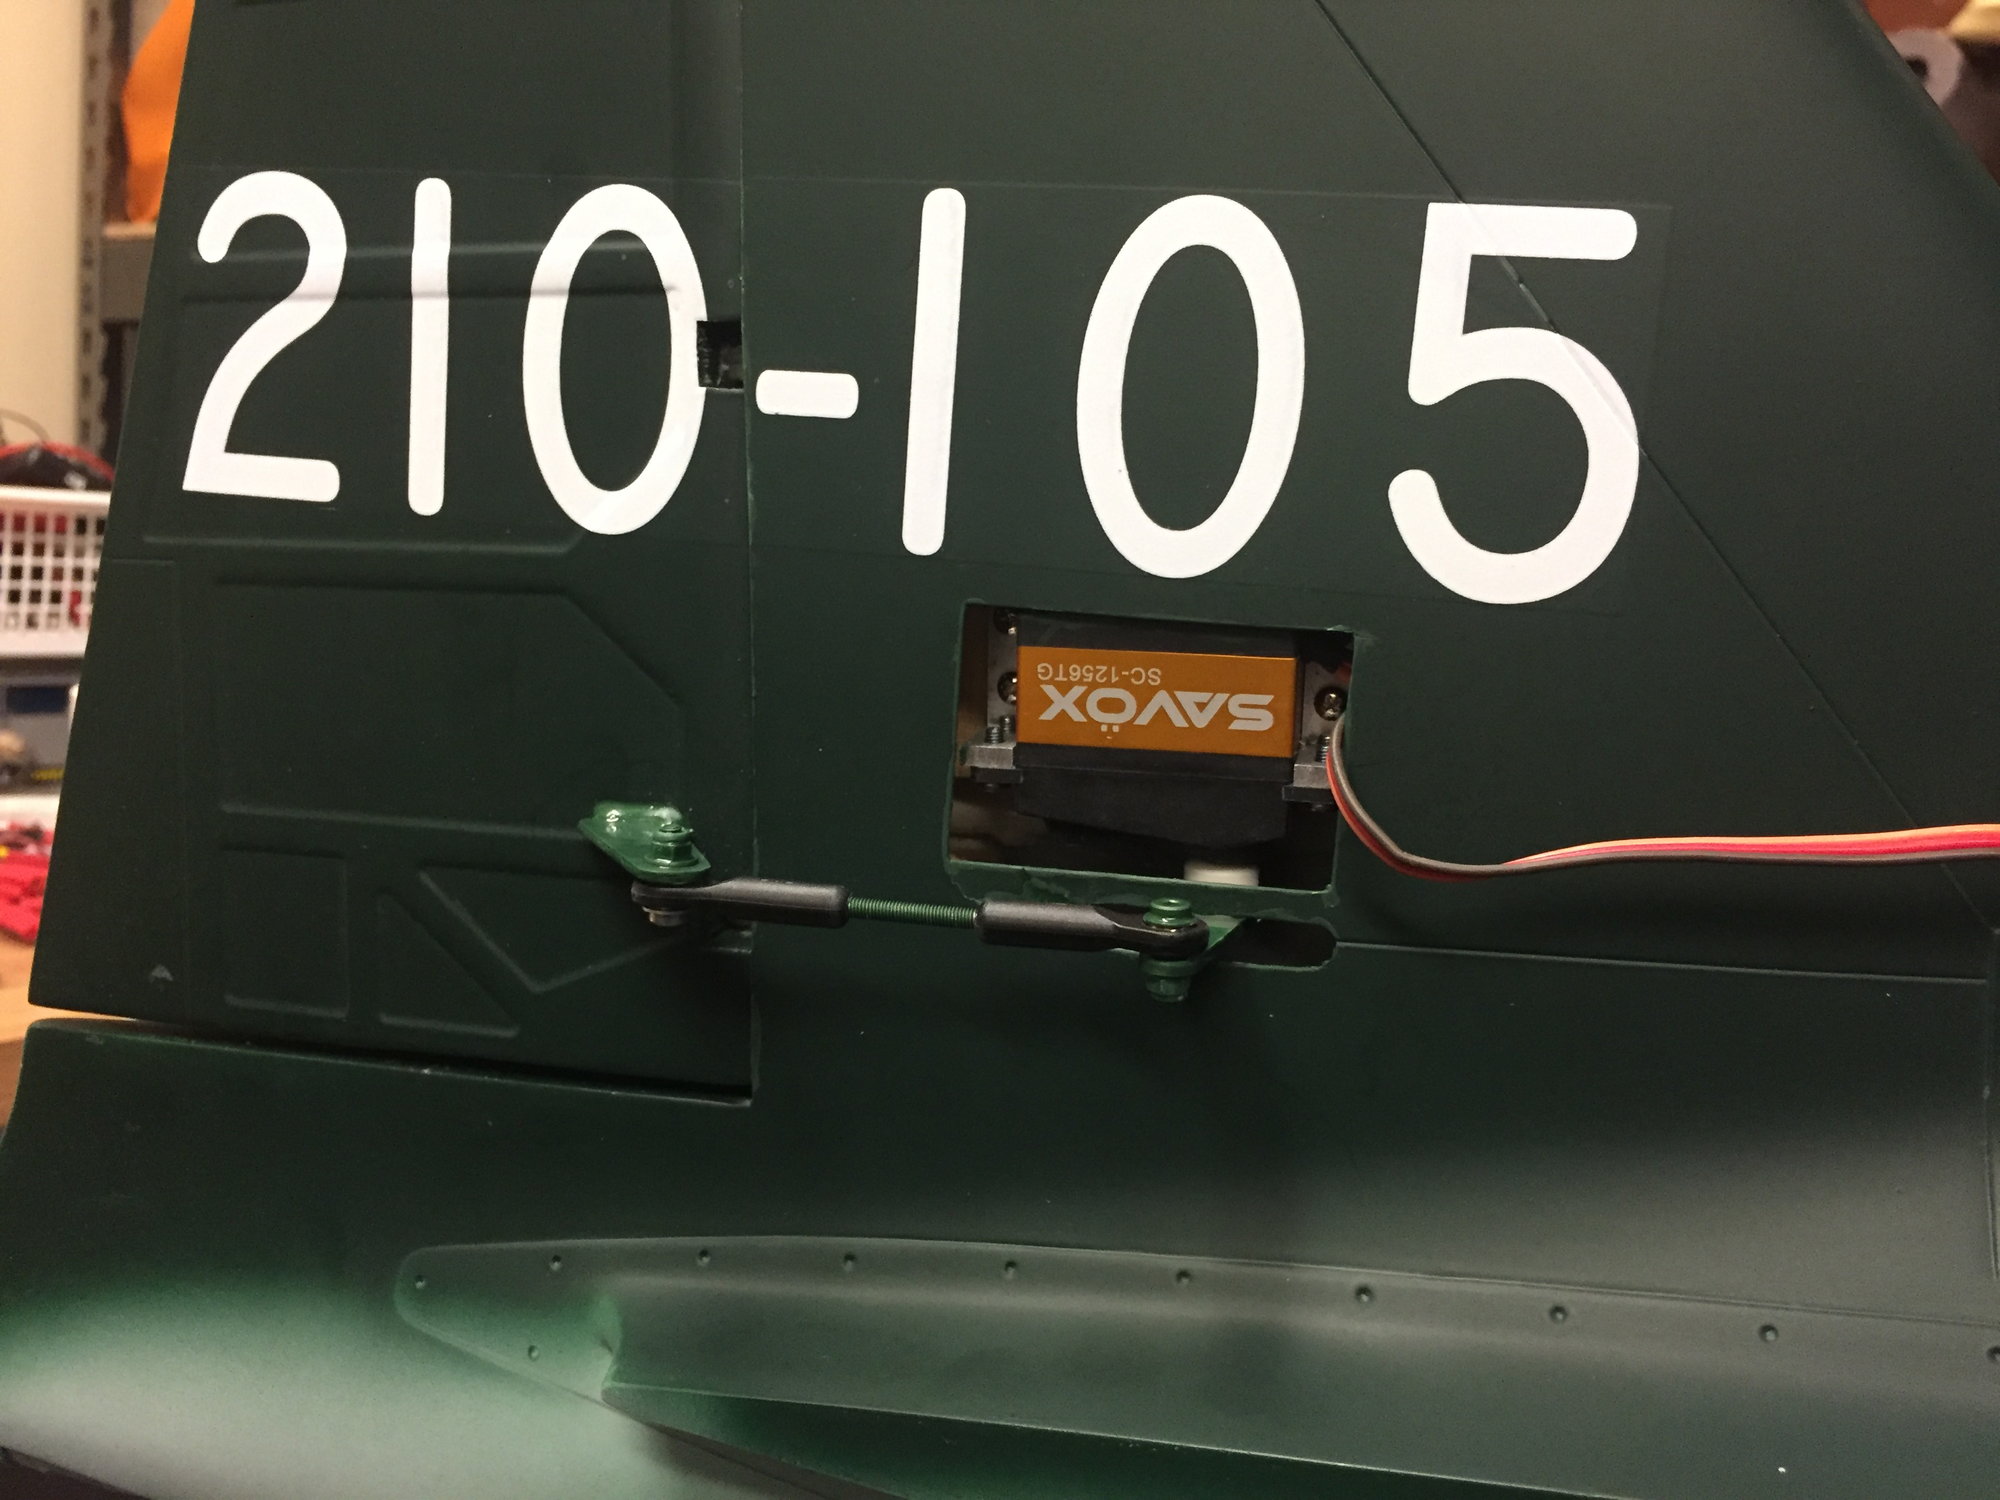
Rudder servo moved to the tail and linked with the steerable tail wheel via pull pull wiring inside.

Brass tube used to feed the overflow between the area of the exhaust and engine
I have made a few changes through the assembly, most of which have already be documented by others.
I hope to fly this in a couple of weeks time.
Neil
Robart legs rotated 180 degrees to allow free movement of the scissor part.
Intake reduced in length to accommodate the exhaust.
Blocks tapped and glued in place to allow 6mm plastic screws to be used.
Lead shot and zpoxy laminating resin currently curing. Still more to add.
Rudder servo moved to the tail and linked with the steerable tail wheel via pull pull wiring inside.
Brass tube used to feed the overflow between the area of the exhaust and engine
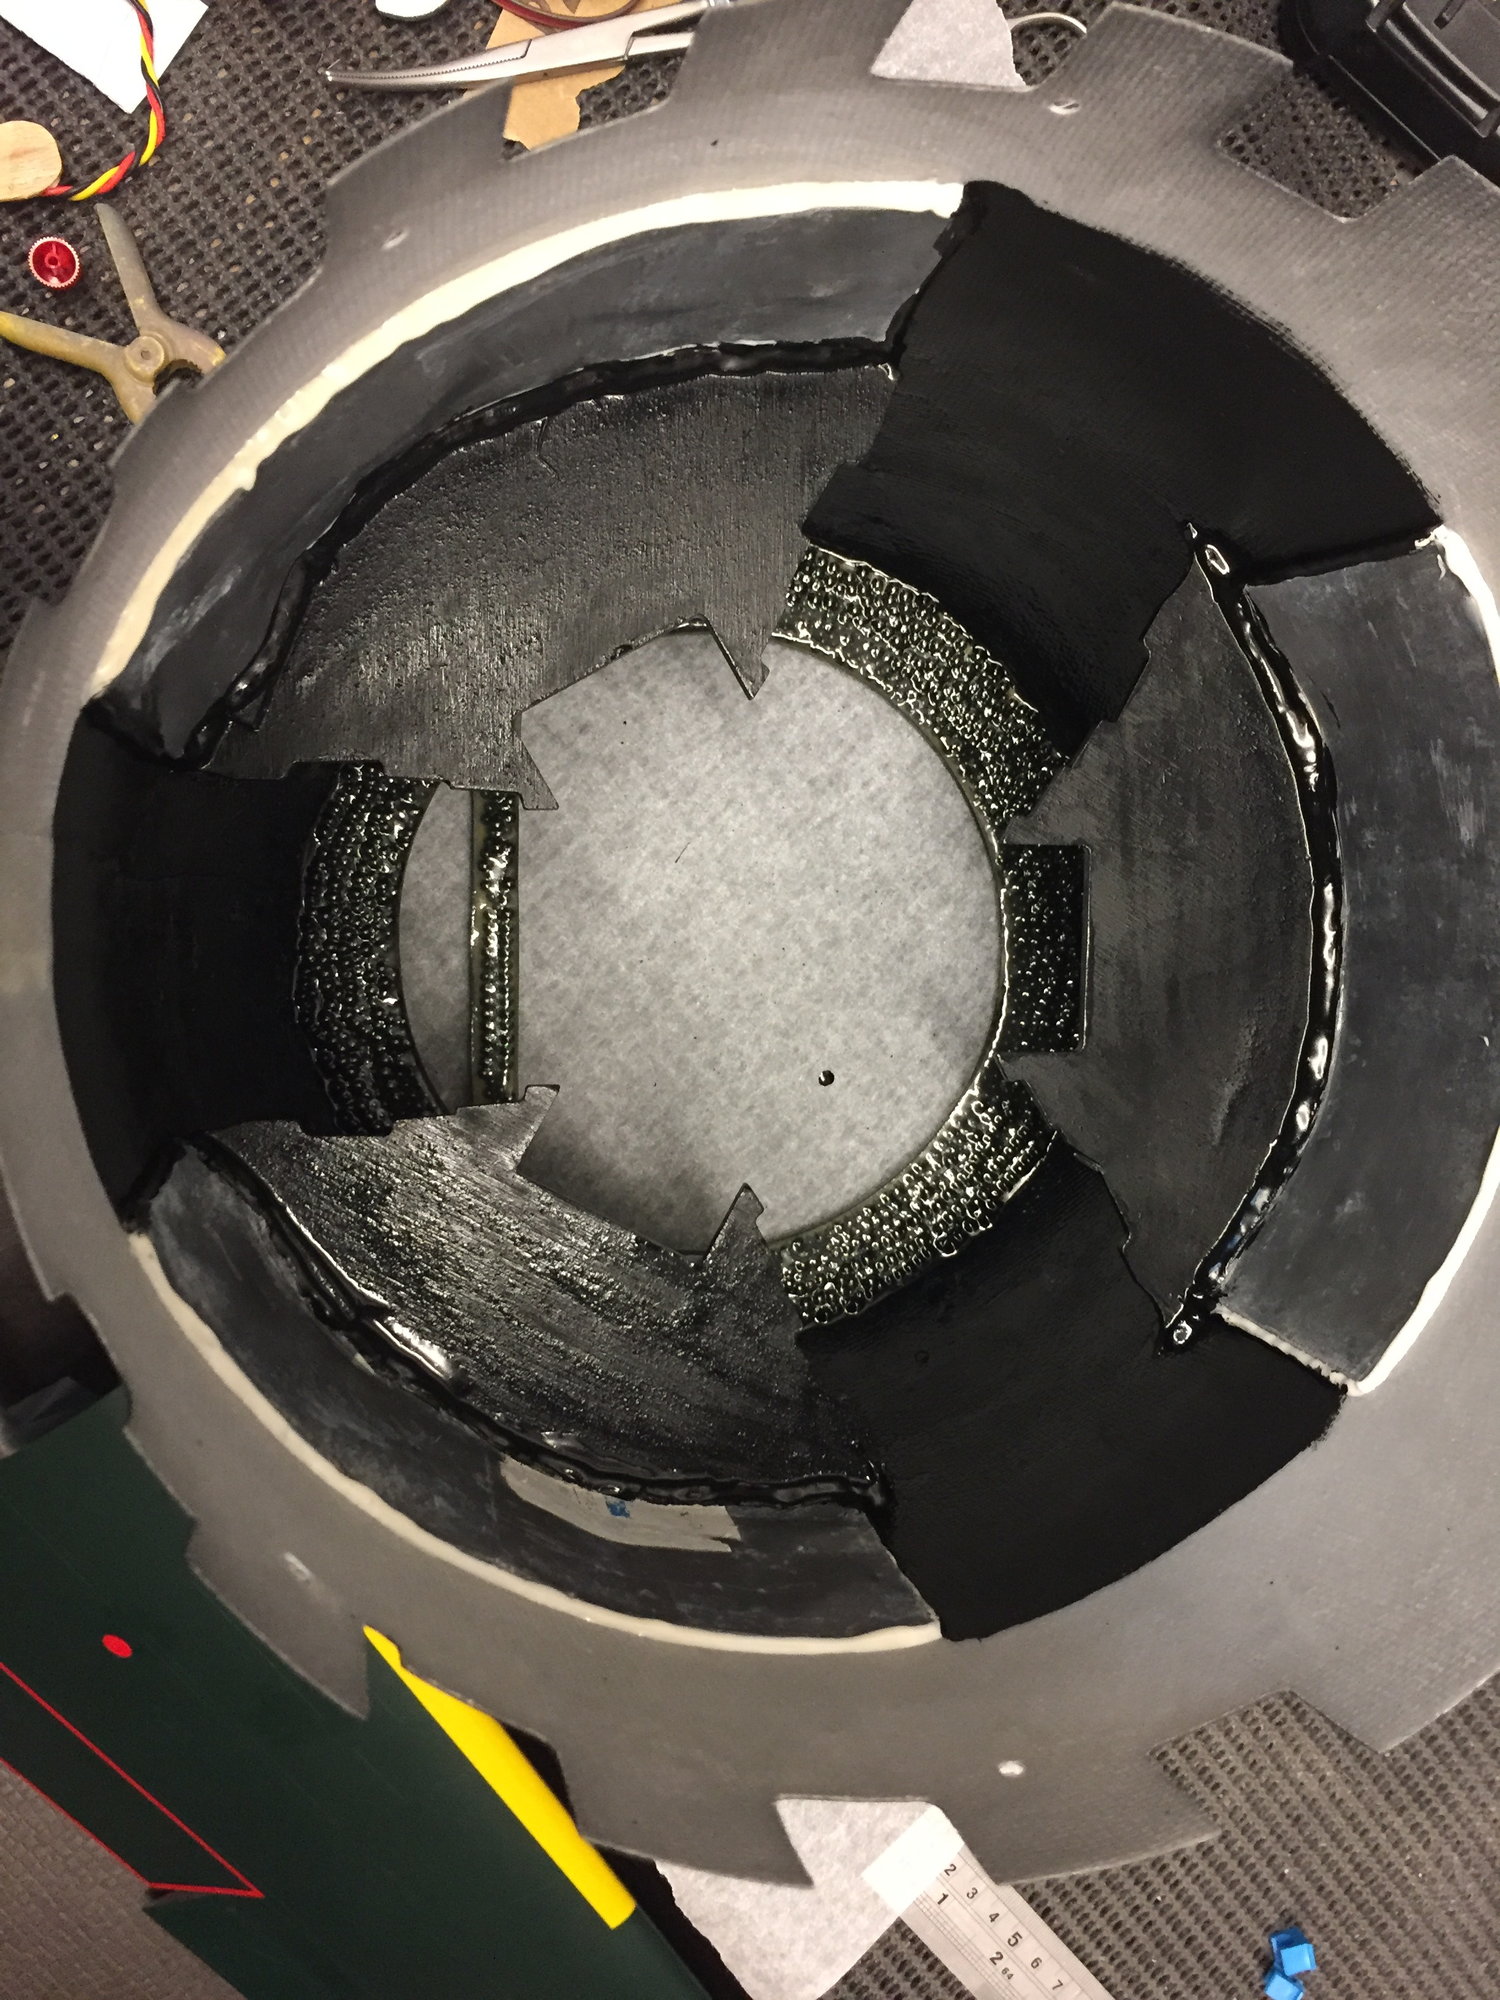 My 1600g cowl! Balances now though.
